环境
-
DS418play
-
DSM 6.2.4-25556
-
ruTorrent 3.10-10
418play的cpu和218+一样是x86架构,可以去群晖官网下载218+的docker spk手动安装,详细可参考链接
DS418play(DS416play)折腾docker和Virtual Machine Manager(VMM)
http://koolshare.cn/forum.php?mod=viewthread&tid=132937&highlight=DS418
有docker的话玩法很多,不过前段时间一块硬盘挂掉导致transmission的配置丢失,准备重新安装时,进入套件中心发现rutorrent(rtorrent + webui)不再是beta测试了,就试着折腾下
准备
套件中心添加源
-
套件中心 > 设置 > 常规,选择:synology和信任的发行者
-
套件来源 > 新增,名称:SynoCommunity,位置:https://packages.synocommunity.com
-
确定回到套件中心,左侧会多出“社群”标签,没有的话回到桌面重开下套件中心
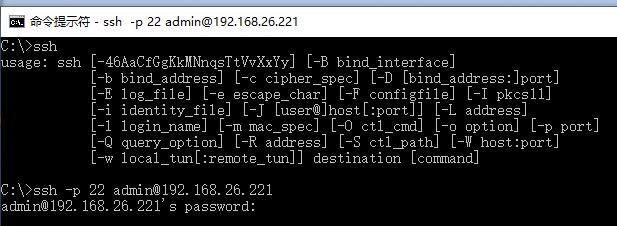
ssh登录dsm(正常安装过程不需要,解决可能遇到问题用),取得root权限的方法可参考
如何通过 SSH/Telnet 用 root 权限登录 DSM
https://www.synology.com/zh-cn/knowledgebase/DSM/tutorial/General_Setup/How_to_login_to_DSM_with_root_permission_via_SSH_Telnet
win10的cmd或者powershell自带ssh,也可以去下载putty,dsm限制只能使用admin用户组的账号登录,一般会禁用默认的admin账号,请根据自己的设置替换

安装
1. 进入套件中心安装php 7.0,apache 2.4,web station

2. 如果要使用rutorrent的_cloudflare plugin,还需要先安装SynoCommunity的python 3,不需要的话可以关闭,后面会提到
3. web station > 常规设置,http后端服务器设为apache 2.4,php设为php 7.0
4. web station > php设置,编辑default profile或者可以新增profile,扩展设置中的curl和sockets勾上


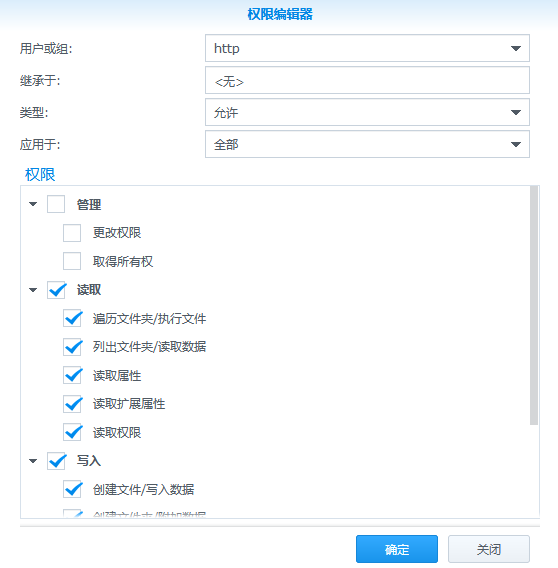
5. file station建立download目录(rutorrent安装过程需要),并设置给http用户组的读写权限

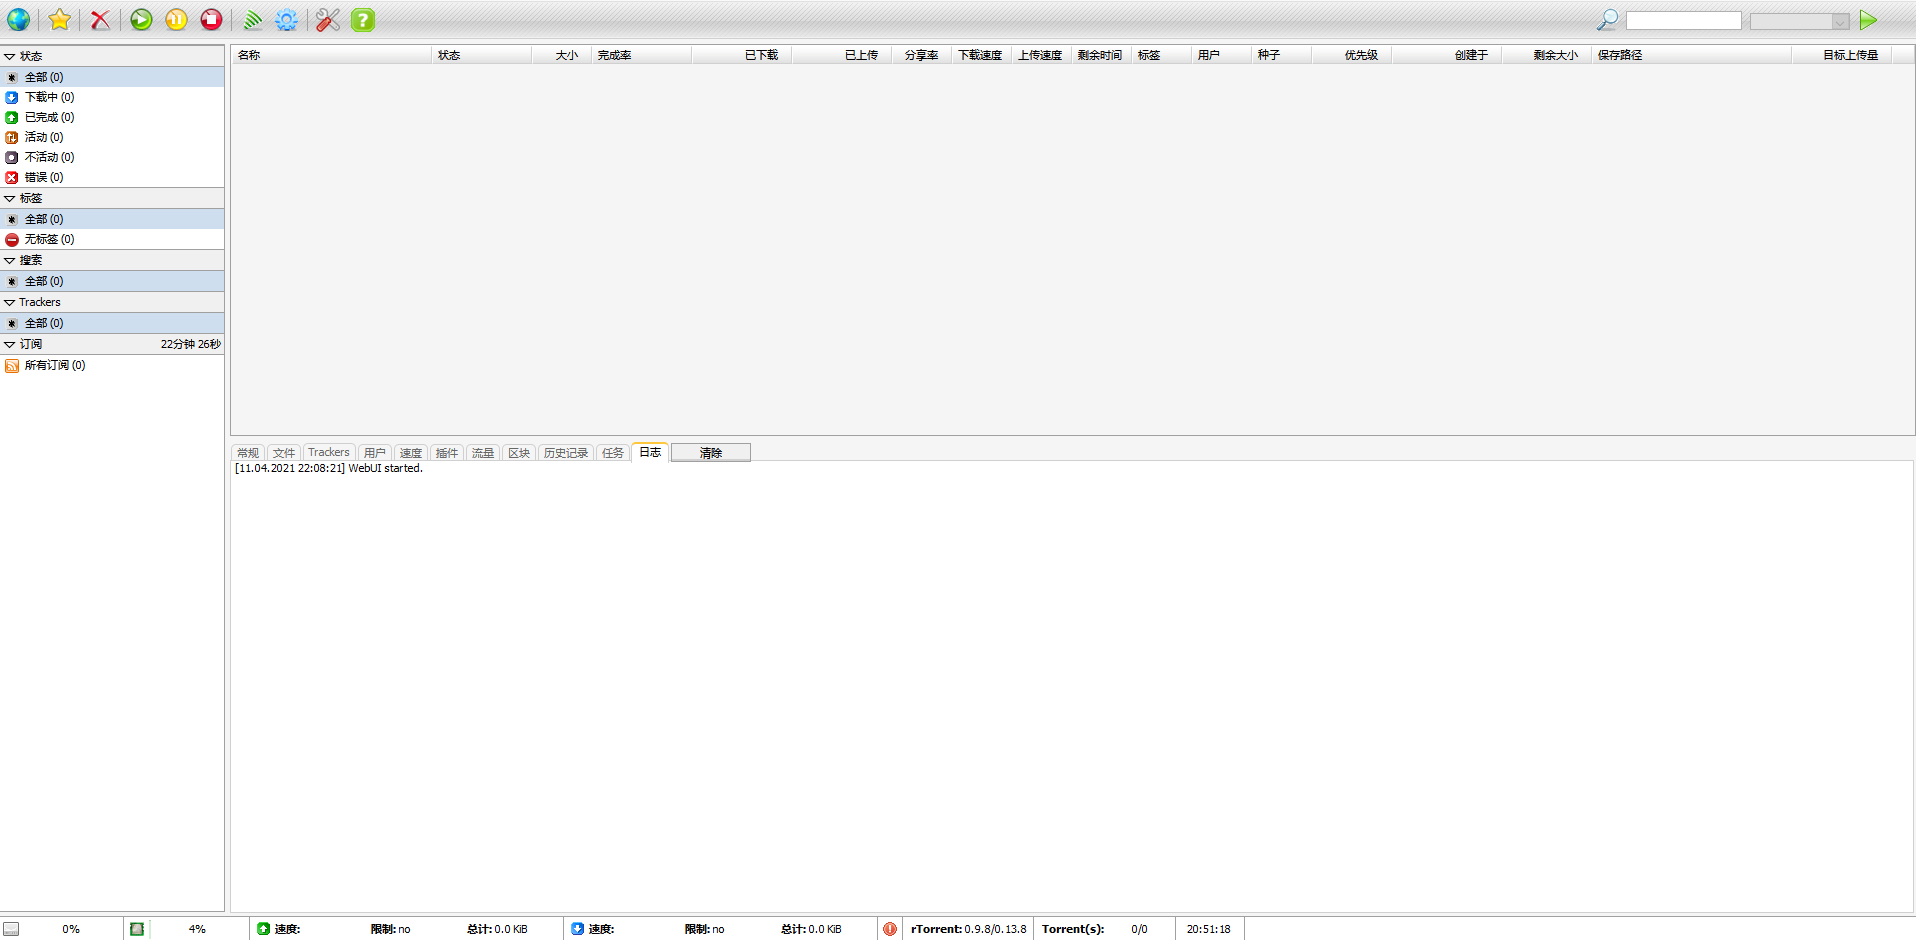
6. 重启NAS,安装rutorrent套件,完成之后的webui如下图

7. 检查sc-download用户组对download目录的读写权限,没有请设置,否则rtorrent无法正常下载 / 上传
可能遇到的问题:
之前我有安装过老版本的rutorrent, 已经创建/var/services/web目录,会看到下面的error
Webserver user doesn't have read/write/execute access to the torrents directory. You cannot add torrents via ruTorrent. (/var/services/web/rutorrent/share/torrents)
Webserver user doesn't have read/write/execute access to the settings directory. ruTorrents settings cannot be saved. (/var/services/web/rutorrent/share/setings)
ssh登录dsm, 把/var/services/web目录备份之后再删除,重新安装rutorrent即可消除error
新版的rutorrent套件会在安装位置创建web共享文件夹,并link到/var/services/web,如有需要,再把之前的备份copy过来

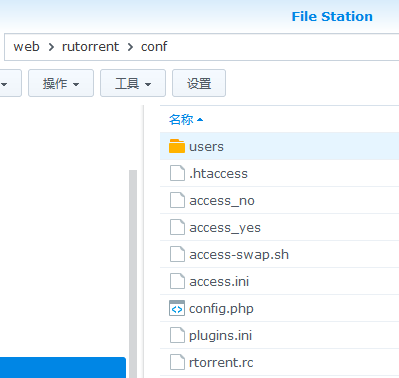
安装文本编辑器套件后,可在file station直接对web目录下的rtorrent配置进行修改,对不习惯用ssh的人会方便不少

如果没有安装python套件,打开rtorrent webui会看到_cloudflare插件(默认打开)报错
_cloudflare: Plugin will not work. Webserver user can't access external program (python).
打开/var/services/web/rutorrent/conf/plugins.ini,在最后添加下面两行内容即可关闭_cloudflare插件:
[_cloudflare]
enabled = no
配置
注意在rutorrent webui设置里修改rtorrent相关的配置只对本次启动有效,如果重新启动套件或者NAS,会重新从rtorrent.rc加载配置,一些基本参数如下:
max_memory_usage = 536870912
rtorrent进行mapping file chunks的内存限制,默认512MB,根据内存和带宽大小自行调整
system.file.allocate = 1
减少硬盘碎片,对于btrfs, ext4, ocfs2, xfs文件系统,没有性能影响,保持默认打开即可
dht.mode.set = disable
protocol.pex.set= no
PT用户记得把dht和peer exchange关掉
port_range = 51423-51432
安装过程中已经设置,可以再修改,建议使用高位端口,路由器端口转发需要对应打开
另外,可以配置监控目录,把种子丢到指定的文件夹,自动启动下载到对应的目录,以我的配置为例,先在Torrents和Downloads目录下都建立Anime, Documentary, Movie, Music, TVshow的分类文件夹,rtorrent.rc增加下面的配置:
schedule2 = watch_directory_anime, 10, 60, "load.start=/volume3/Torrents/Anime/*.torrent,d.directory.set=/volume3/Downloads/Anime/"
schedule2 = watch_directory_docu, 20, 60, "load.start=/volume3/Torrents/Documentary/*.torrent,d.directory.set=/volume3/Downloads/Documentary/"
schedule2 = watch_directory_movie, 30, 60, "load.start=/volume3/Torrents/Movie/*.torrent,d.directory.set=/volume3/Downloads/Movie/"
schedule2 = watch_directory_music, 40, 60, "load.start=/volume3/Torrents/Music/*.torrent,d.directory.set=/volume3/Downloads/Music/"
schedule2 = watch_directory_tvshow, 50, 60, "load.start=/volume3/Torrents/TVshow/*.torrent,d.directory.set=/volume3/Downloads/TVshow/"
重新启动套件之后,分别从10s, 20s, 30s, 40s, 50开始扫描,间隔都是60s,把torrent文件丢进分类文件夹,就可以自动下载到对应的分类目录
更多的高级设定请参考最后的链接进行调整
参考链接
安装相关:
https://github.com/SynoCommunity/spksrc/pull/3175#issuecomment-368499409
https://github.com/SynoCommunity/spksrc/issues/4295#issuecomment-741946419
rtorrent.rc配置:
https://github.com/rakshasa/rtorrent/wiki/Performance-Tuning
https://www.torrent-invites.com/forum/the-help-desk/help/225753-rtorrent-configuration
原文链接:https://www.bilibili.com/read/cv10826466/


